If you want to build mobile robots that can handle smart tasks like seeing objects, moving on their own, or making quick choices, adding NVIDIA Jetson can make a big difference. This guide walks you through the process step by step. It’s meant to help beginners and those with some background in robotics get started. By the end, you’ll know how to put Jetson hardware into your robot setup and make it work with software for real-world use.
Mobile robots are used in many places, from warehouses to homes, and Jetson brings strong AI power to them without needing big computers. This post covers everything from picking the right parts to fixing common problems. We’ll keep things straightforward and focus on practical advice to meet what Google looks for in useful content.
What is NVIDIA Jetson?
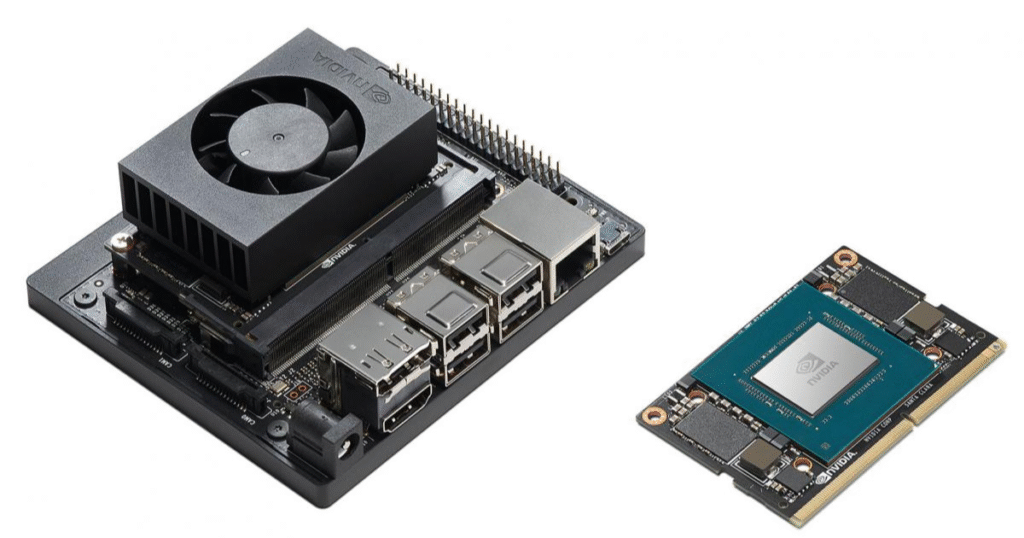
NVIDIA Jetson is a line of small computers made for AI tasks at the edge, meaning they run on the device itself instead of sending data to a far-away server. These modules are compact and use little power, which makes them good for robots that need to move around.
The Jetson family includes several models. For example, the Jetson Nano is a basic option for simple projects. It has enough power for basic image recognition but uses only about 5 to 10 watts. Then there’s the Jetson Orin series, which steps up the game with more processing power for handling multiple cameras or sensors at once. The newest addition is the Jetson Thor, built on advanced tech for even tougher jobs like real-time decision-making in robots.
Each Jetson module comes with a GPU, CPU, and memory all in one package. They support tools like CUDA for fast computing and work with common robot software. This setup lets you run AI models right on the robot, cutting down on delays.
Benefits of Using Jetson in Mobile Robots
Adding Jetson to mobile robots gives several key advantages. First, it allows for on-board AI processing. This means your robot can spot obstacles or follow paths without waiting for cloud help, which is key in spots with poor internet.
Second, Jetson modules are energy-efficient. Robots often run on batteries, so low power use helps them last longer. For instance, models like Orin can handle complex math while staying under 60 watts.
Third, it opens doors to advanced features. You can add computer vision for seeing the world, machine learning for learning from data, and even natural language processing for voice commands. This turns a basic moving platform into a smart machine.
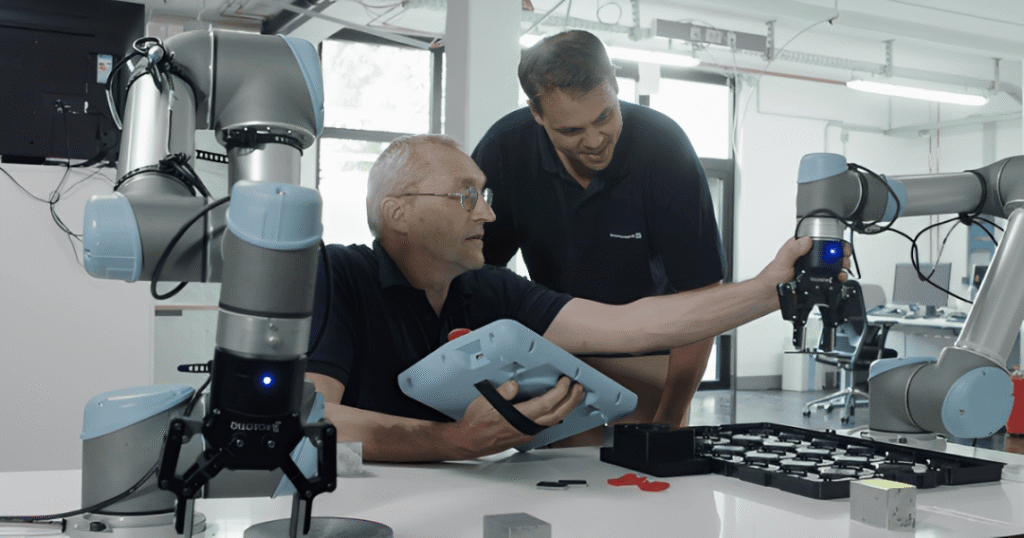
In practice, companies use Jetson for things like delivery bots or inspection robots. It also makes building prototypes faster since you don’t need custom hardware from scratch.
Choosing the Right Jetson Module
Picking the best Jetson depends on your robot’s needs. Start by thinking about what tasks it will do. If it’s a small hobby robot for learning, go with Jetson Nano. It costs less and handles basic AI like object detection.
For more demanding work, like a robot that maps rooms or avoids crowds, Jetson Orin is better. The Orin NX has up to 157 TOPS of AI performance, meaning it can process data fast. The AGX Orin goes higher with 275 TOPS for heavy loads.
Looking ahead, Jetson Thor is the top choice for future-proofing. It offers 2070 FP4 TFLOPS, which is a big jump from Orin. This makes it fit for tasks like humanoid robots or those needing quick thinking from multiple sensors. It’s designed for industries like manufacturing or healthcare where robots interact with people.
Compare specs in a table:
| Module | AI Performance | Memory | Power Range | Best For |
| Jetson Nano | 0.5 TFLOPS | 4GB | 5-10W | Beginners, simple bots |
| Jetson Orin NX | Up to 157 TOPS | 8-16GB | 10-25W | Mid-level autonomy |
| Jetson AGX Orin | Up to 275 TOPS | 32-64GB | 15-60W | Advanced navigation |
| Jetson Thor | 2070 FP4 TFLOPS | 128GB | 40-130W | High-end AI, real-time |
Check your budget and size limits too. Thor is powerful but bigger and pricier.
Hardware Requirements
To integrate Jetson into a mobile robot, you need compatible parts. First, a chassis or frame for the robot. This could be a wheeled base like a differential drive with two motors or a more complex setup with tracks.
You’ll need motors and drivers. DC motors with encoders help track movement. Connect them to Jetson via GPIO pins or a microcontroller like Arduino for control.
Sensors are crucial. Add cameras for vision – Jetson supports CSI cameras like the Raspberry Pi cam. LIDAR or ultrasonic sensors for distance, and IMUs for orientation.
Power supply: Jetson needs stable 5V or more, depending on the model. Use a battery pack with regulators to avoid drops.
Other items: MicroSD card for OS (at least 32GB), cables for connections, and heatsinks if running hot tasks.
For safety, add emergency stops and protective cases.
Software Setup
Setting up software starts with JetPack, NVIDIA’s SDK for Jetson. It includes Linux, drivers, and AI tools.
Download JetPack from NVIDIA’s site. For Nano, use the SD card image. Flash it with tools like Etcher.
Steps:
- Insert SD card into your computer.
- Run Etcher, select the JetPack image, pick the SD card, and flash.
- Put the card into Jetson and power on.
On first boot, set up user account and network.
Install extras like Python, OpenCV for vision, and TensorFlow or PyTorch for AI models.
For robots, add ROS (Robot Operating System). It’s free and handles communication between parts.
Step-by-Step Integration Guide
This section serves as a jetson integration mobile robot tutorial. We’ll go through the process from start to finish.
Preparing the Jetson Board
Begin by assembling the Jetson developer kit. For Nano:
- Place Jetson on a stand or mount it on your robot chassis.
- Connect power, keyboard, mouse, and display for setup.
- Boot up and complete the wizard.
For Orin or Thor, follow similar steps but check for higher power needs.
Connecting Hardware Components
Mount Jetson securely on the robot base. Use screws or brackets.
Connect motors: Use PWM pins on Jetson for speed control. If needed, add a motor shield.
Hook up sensors: Cameras to CSI ports, others to I2C or UART.
Test connections with simple code. For example, in Python:
python
import RPi.GPIO as GPIO
GPIO.setmode(GPIO.BOARD)
GPIO.setup(11, GPIO.OUT)
GPIO.output(11, True) # Turn on a pin
This checks if hardware responds.
Installing and Configuring ROS
ROS is key for robot control. Install ROS2 Humble or later on Jetson.
Commands:
sudo apt update
sudo apt install ros-humble-desktop
Source the setup: source /opt/ros/humble/setup.bash
Create a workspace: mkdir -p ~/ros_ws/src
Build with colcon build.
Jetson Robot Build Steps
Here are the jetson robot build steps in detail.
Step 1: Assemble the chassis. Attach wheels, motors, and battery.
Step 2: Mount Jetson. Ensure good airflow.
Step 3: Wire everything. Use diagrams to avoid shorts.
Step 4: Flash software and boot.
Step 5: Write control code. Start with teleoperation using a joystick.
For example, create a ROS node for motor control.
Step 6: Add AI. Train a model for object avoidance using Jetson’s GPU.
Step 7: Test in a safe area. Drive the robot manually first.
Step 8: Iterate. Add features like mapping with SLAM.
This process can take a few days, but breaking it into steps makes it manageable.
Testing the Integration
Run diagnostics. Use ROS tools like rqt to monitor topics.
Check AI performance with sample models from NVIDIA.
Integrating with ROS for Enhanced Functionality
ROS works well with Jetson for mobile robots. It handles navigation stacks like Nav2 for path planning.
Install packages: sudo apt install ros-humble-navigation2
Create maps with cartographer or gmapping.
For vision, use Isaac ROS, NVIDIA’s add-on for accelerated processing.
Example: Run a node for camera feed and process with DNNs.
This setup lets your robot avoid walls or follow lines autonomously.
Advanced Topics: Jetson Orin and Thor
For those looking at higher-end options, this acts as a jetson orin thor robotics guide.
Jetson Orin brings more cores and faster memory than older models. Use it for multi-sensor fusion, like combining camera and LIDAR data.
Thor takes it further with Blackwell architecture. It’s great for generative AI, where robots learn from examples. Applications include delivery robots or assistants in hospitals.
Setup for Thor: Similar to Orin, but expect bigger power draws. Use MIG for partitioning GPU tasks.
Tips: Optimize code with TensorRT for speed.
Troubleshooting Common Issues
Problems happen. If Jetson won’t boot, check SD card or power.
Overheating: Add fans or limit CPU usage.
Connection errors: Verify pins and drivers.
AI model slow: Quantize models to FP16.
Network issues in ROS: Ensure same version across devices.
Search NVIDIA forums for specific errors.
Case Studies
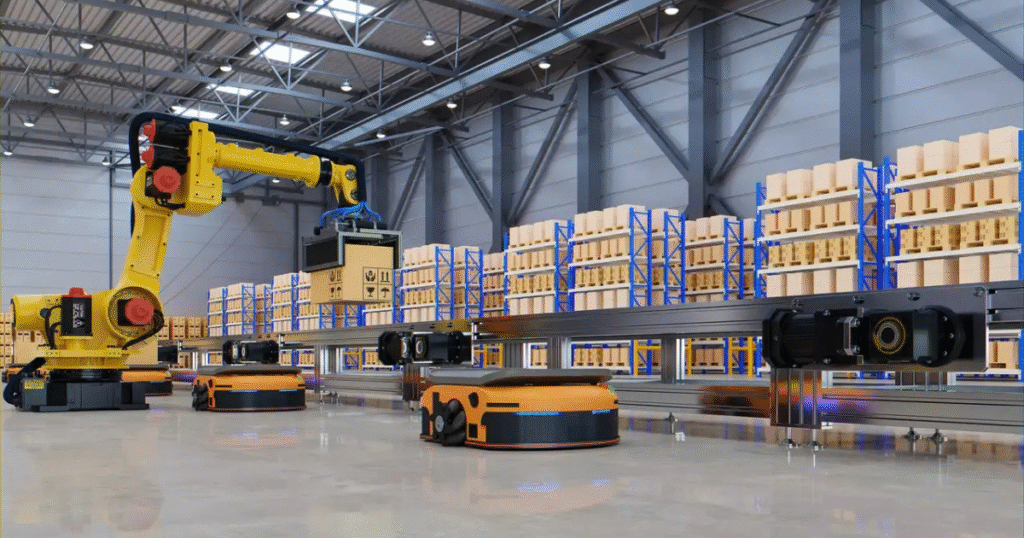
Look at real examples. One project built an AMR with Jetson Nano for warehouse navigation. It used ROS for control and AI for picking paths.
Another used Orin for a quadruped robot that detects objects.
Thor is in early use for humanoids, like Agility Robotics’ Digit. It handles complex interactions.
These show how Jetson scales from small to large projects.
Read more interesting and informational blogs visit our website Lidarmos
Conclusion
Integrating NVIDIA Jetson into mobile robots opens up many possibilities for smart, independent machines. By following this guide, you can build a working system. Remember to test often and start simple. With practice, you’ll create robots that solve real problems.
This post aimed to give you all the info needed in one place. If you have questions, check NVIDIA docs or community sites. Happy building!